Metso Insights Blog Mining and metals blog Avoid surprises with regular mill liner inspections
Mining
Jun 28, 2024

Avoid surprises with regular mill liner inspections

Chris Bouvette
Chris Bouvette
Team Lead, Technical Sales Support Grinding Wears
Most mine sites want to run at a steady process that can be fine-tuned to maximize production and efficiency. Regular liner inspections are a way to avoid unexpected problems, and allow maintenance planning and timely sourcing of parts.

Chris Bouvette, Team Lead, Technical Sales Support Grinding for Canada, has worked at Metso for 18 years, and has completed 600 mill inspections since 2013.  We had the chance to catch up with Chris and get the details on his work inspecting mills and mill liners.

What are you looking for during a typical liner inspection?

Conducting a thorough inspection of a mill is crucial for maintaining its operational efficiency and safety. The initial inspection focuses on the mill's overall state, checking for any visible deviances such as damages to liners caused by tramp material, fissures, irregular wear patterns or severe corrosion. Attention to potential leakage points, such as flanges and mandoors, is essential. It is also good to look at the liner bolts from the outside of the mill to identify any leakage that can indicate if a liner has passed its maximum service life or if a bolt is broken or has lost its required preload.

When entering the mill through the feed end trunnion, we take the opportunity to check the condition of the trunnion lining. Inside the mill, we look for any foreign objects or tramp metal and check how the grinding media charge looks like, both in terms of volume and condition.

A detailed visual inspection of the liner is performed to identify any bigger issues like material packing between liners, peening, plugging of the grates or damaged liners.

What methods do you use to measure liner wear?

There are several methods to measure the wear status of the liners. On one hand, the traditional pin gauge method, while time-consuming, offers high precision and tactile feedback. On the other hand, modern techniques like handheld devices provide a convenient way to measure wear in selected areas. The most comprehensive approach, however, involves a 3D laser scan that captures millions of data points, which are then processed in our proprietary software MillMapper. This software not only creates a detailed topographic map of the mill's interior but also identifies the most worn areas, allowing for targeted maintenance.

The more old-fashioned pin gauge method is of course limited to liners that you can physically reach, and you measure them one by one. However, this method has its merits as it is very accurate and you can get close and see and touch the liners which can give additional information to an experienced inspector. In some cases, the best results can be achieved by combining different methods.
What is the goal in measuring the wear?

The ultimate goal of measuring wear in mill liners is to evaluate their remaining lifespan and determine the optimal time for replacement. This process involves a comprehensive analysis of various factors, including the amount of material processed, operational hours since the last inspection, recent incidents, maintenance schedules, available spare liners and changes in production indicators or ore characteristics.

Additionally, examining the mill's charge level, liner surface, grinding media condition and ore input provides insights into any operational changes. Collecting and analyzing this data allows for a holistic understanding of the mill's performance and the condition of the liners, culminating in a detailed wear report that includes precise forecasts and potential recommendations.

Underfeeding versus overfeeding – what are the main consequences?

The main consequences of underfeeding a mill are increased wear rate and potential damage to the liners due to greater exposure to direct impacts. This can lead to peening, cracking and ultimately, a shorter liner lifespan. Overfeeding a mill doesn't typically lead to a higher wear rate, but it can cause inefficiency in the milling process and a coarser end-product, which may result in lower recovery rates of the desired material.

Both scenarios highlight the importance of maintaining optimal feeding levels for efficient milling operations and longevity of the equipment.

What do you do with the inspection data?

All the collected data, including the number of operating hours and produced tons, is entered into our MillMapper software. The data is processed, cleaned, aligned and turned into a model that is studied and analyzed, resulting in a MillMapper wear report. If we have monitored the wear in a particular mill for some time, we also consider past wear history and behavior when analyzing the latest wear reading.

MillMapper reports come in escalating levels of detail. Status report provides a quick snapshot of the current liner condition, offering thickness and wear profiles for critical areas. The Wear analysis report provides a comprehensive summary of the wear across all sections, detailed examinations by both software and experts, and forecasts for liner life and replacement scheduling, complete with visual aids like Gantt charts. The Extended wear analysis report is the most thorough analysis, incorporating all collected data to recommend operational improvements and liner design modifications, tailored to meet the customer's evolving objectives, and ensure efficient maintenance planning and parts procurement.

When is the best time to conduct a mill inspection?

Every mill is different so the optimal timing for mill inspections varies depending on the specific wear behavior. Generally, inspections are conducted four to five times during a mill liner's lifecycle, with increased frequency if there are changes in liner design or process operations. Inspections are strategically scheduled during planned service stops, and more frequently as the reline date approaches, to prevent unexpected issues and extend liner life. The final inspection is crucial for assessing the liner's wear profile and determining if design modifications are necessary.

By the time the mill is partly ground out, locked out, vented and safe and ready to enter, the actual inspection takes between 30 minutes to one hour regardless of the inspection method.

What kind of improvements can the inspections offer?

Depending on the customer’s needs and targets, we suggest improvements in material selection and optimized liner designs. By using the inspection information, we can see where changes are needed to improve the performance.

Customized solutions can be offered based on the inspection data, such as selecting better-suited materials or altering the design of mill liners for enhanced performance. Adjustments might include changing the material, modifying the thickness or altering the height of the liners to achieve a uniform wear rate that aligns with maintenance schedules. To increase grinding performance, we can simulate the charge motion, using the inspection data as a reference and test what the best design solution for a specific scenario might be.

Ultimately, the improvements are tailored to meet the customer's specific objectives and KPIs.

Every minute of downtime comes at a cost. It is important that everything is well coordinated and prepared in advance, so the stop is as short and efficient as possible.

What are the main customer challenges related to inspections, relines and their timing?

A big challenge for the customer is the stop itself. Most customers are trying to utilize the machines to the max, so any unplanned stop or disturbance in the process is something to avoid. Even a planned short stop requires a lot of preparations since the stop affects the entire downstream process.

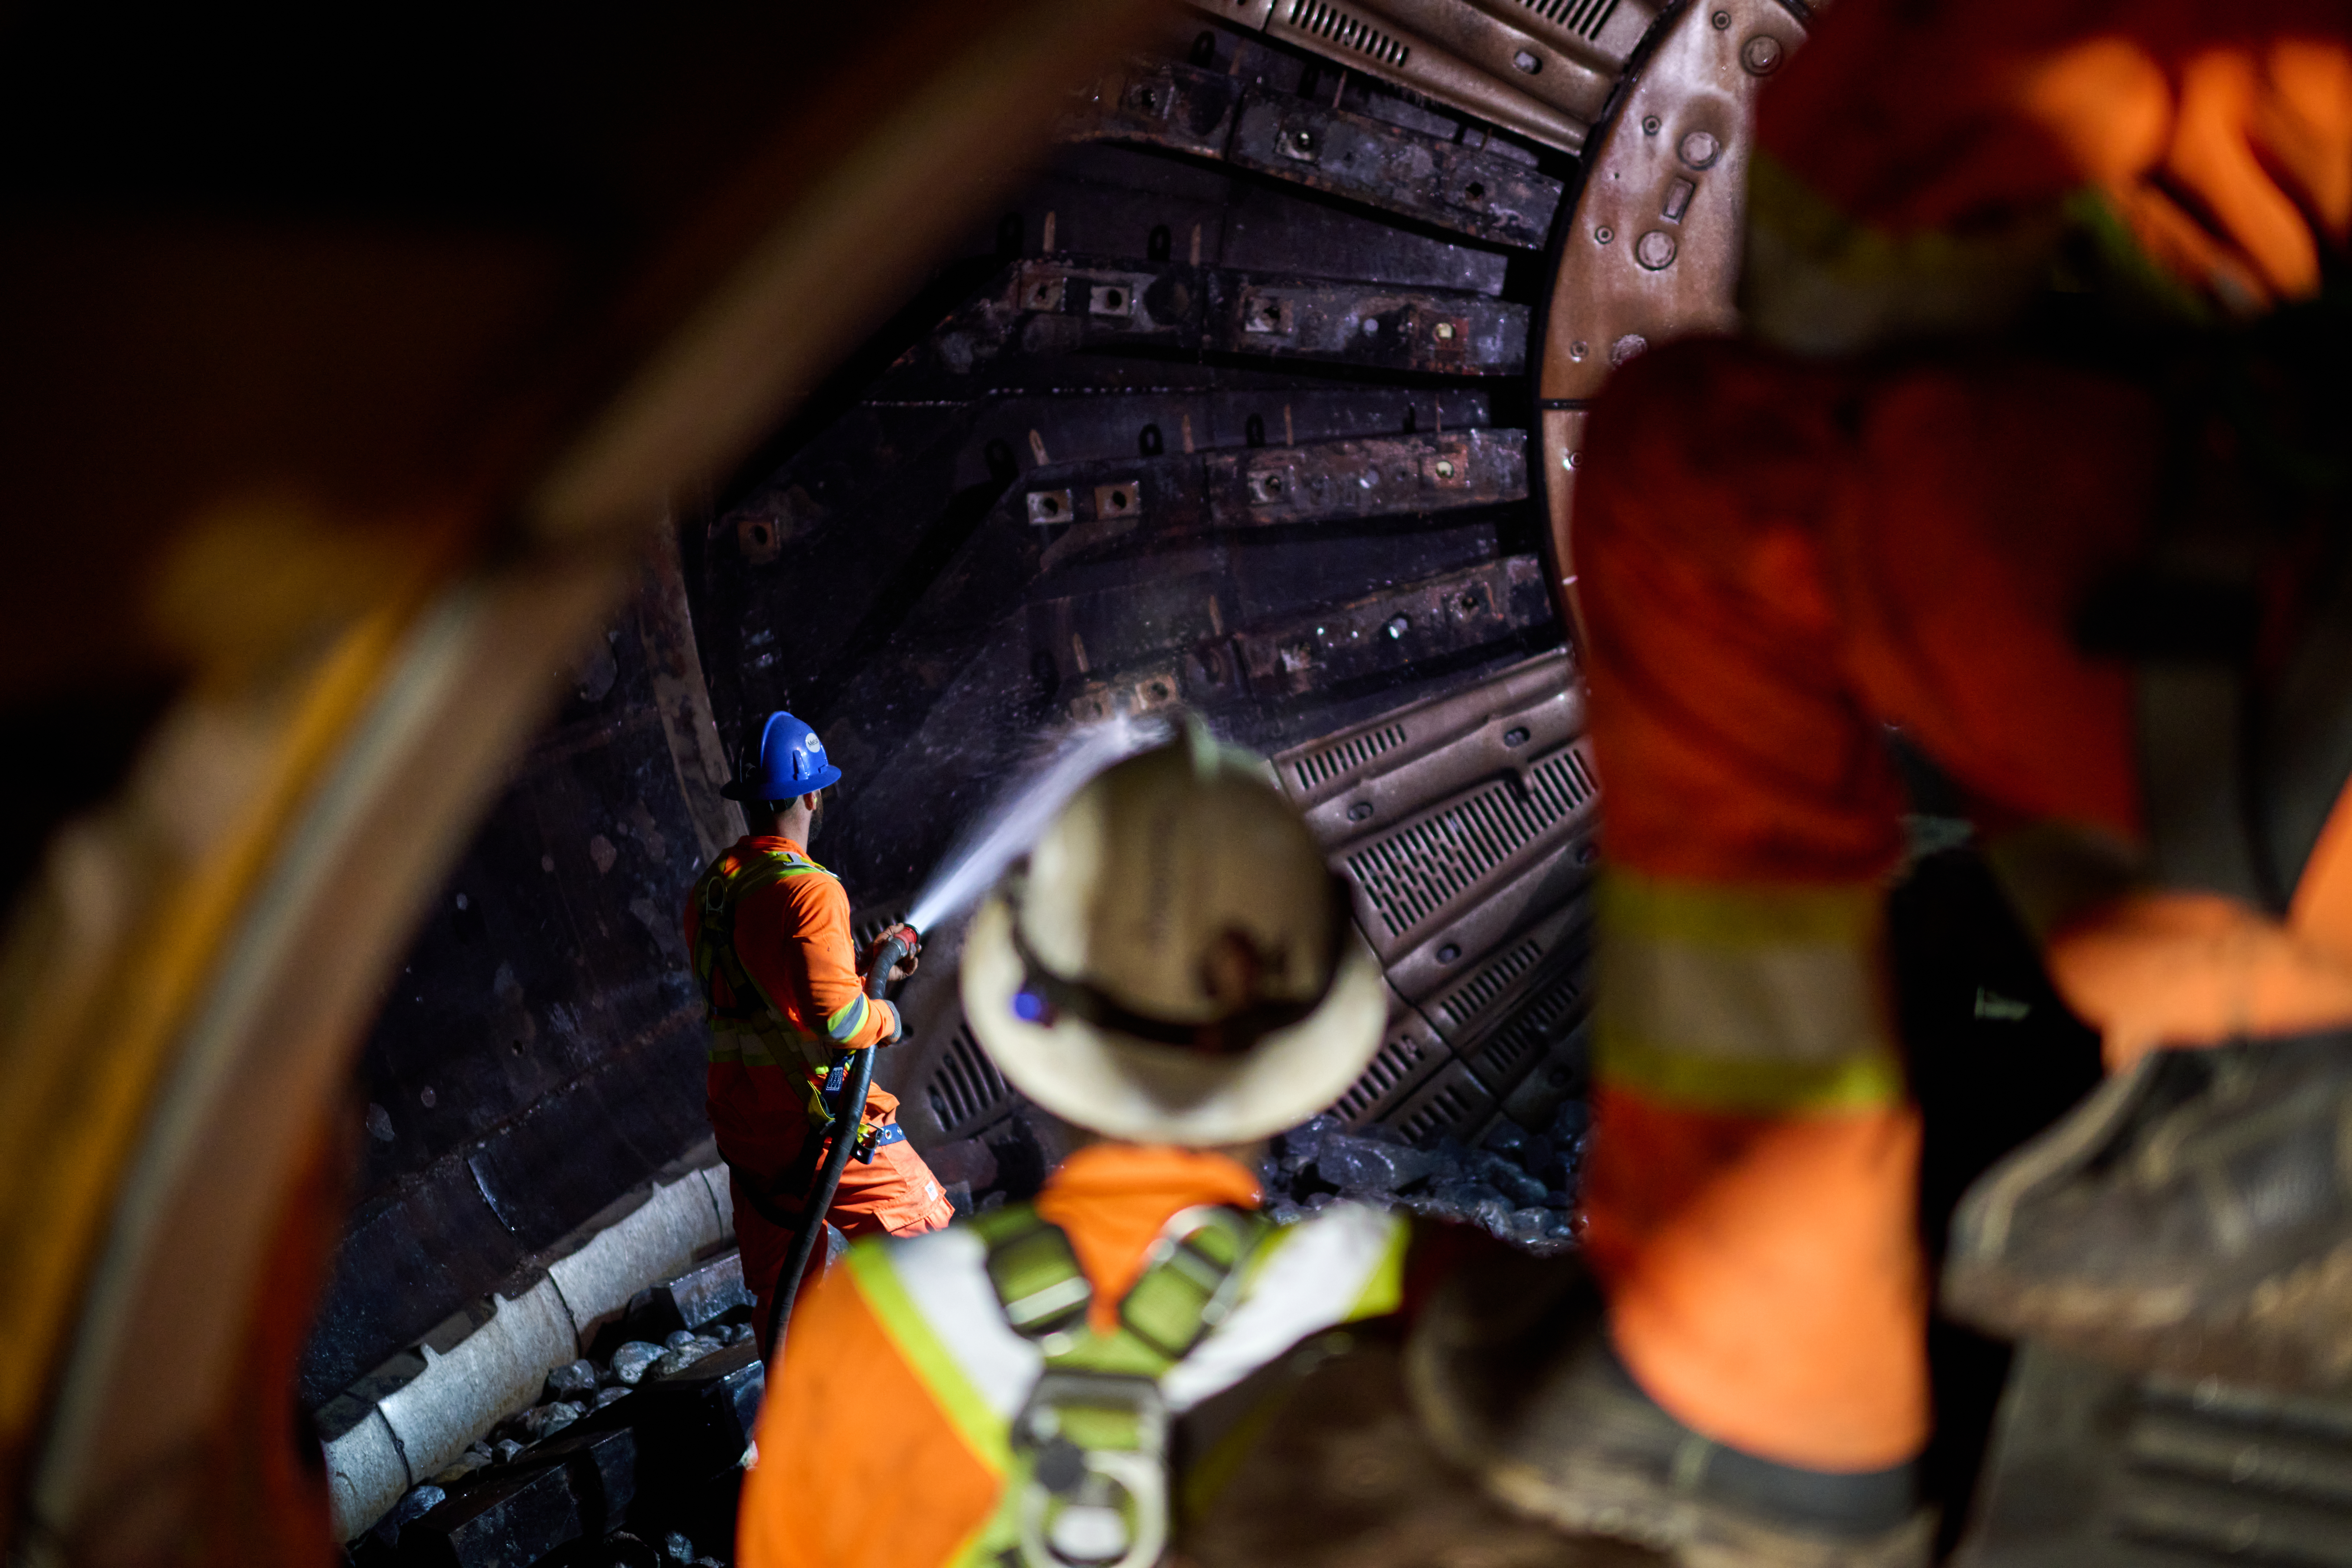
Safety is a top priority, and the mill must be hosed down to avoid trapped rocks or media from falling and causing injuries. Mills are often hot so they must cool down and, in some cases, fumes and particles must be vented out before it can be entered. This takes time. Every minute of downtime comes at a cost, sometimes a significant cost, due to lost production. Hence, it is important that everything is well coordinated and prepared in advance, so the stop is as short and efficient as possible. This is why it is important to take the opportunity to inspect the mill even during shorter unplanned stops.

Another challenge is to coordinate the personnel and equipment needed for the inspection and/or the reline. The plant is often located in a rural area and the reline personnel from the customer, Metso and external partner must be present. Many times, the personnel, equipment, tools and new liners arrive from different parts of the world. All must be well coordinated and onsite at the same time.

Why are regular inspections crucial?

In any mine site, the goal is to maintain a consistent operation that can be adjusted for optimal output and efficiency. Conducting regular inspections helps prevent unforeseen issues, facilitates planned maintenance, and ensures parts are available when needed. This proactive approach is key to sustaining smooth and efficient processes. Both the customer and the liner supplier benefit from this.

Customer can minimize downtime, avoid unplanned stops and ensure that maintenance is kept at a minimum. For suppliers, detailed knowledge of operational conditions enables better forecasting, production planning and early identification of potential issues.

Moreover, inspections provide a valuable touchpoint for customer and supplier engagement, creating a collaborative environment where information exchange and planning can lead to mutual success.

Enjoyed this article? Try this next
Mill maintenance
Mill maintenance – 3 simple ways to keep your mill at its best
Read more
Mining