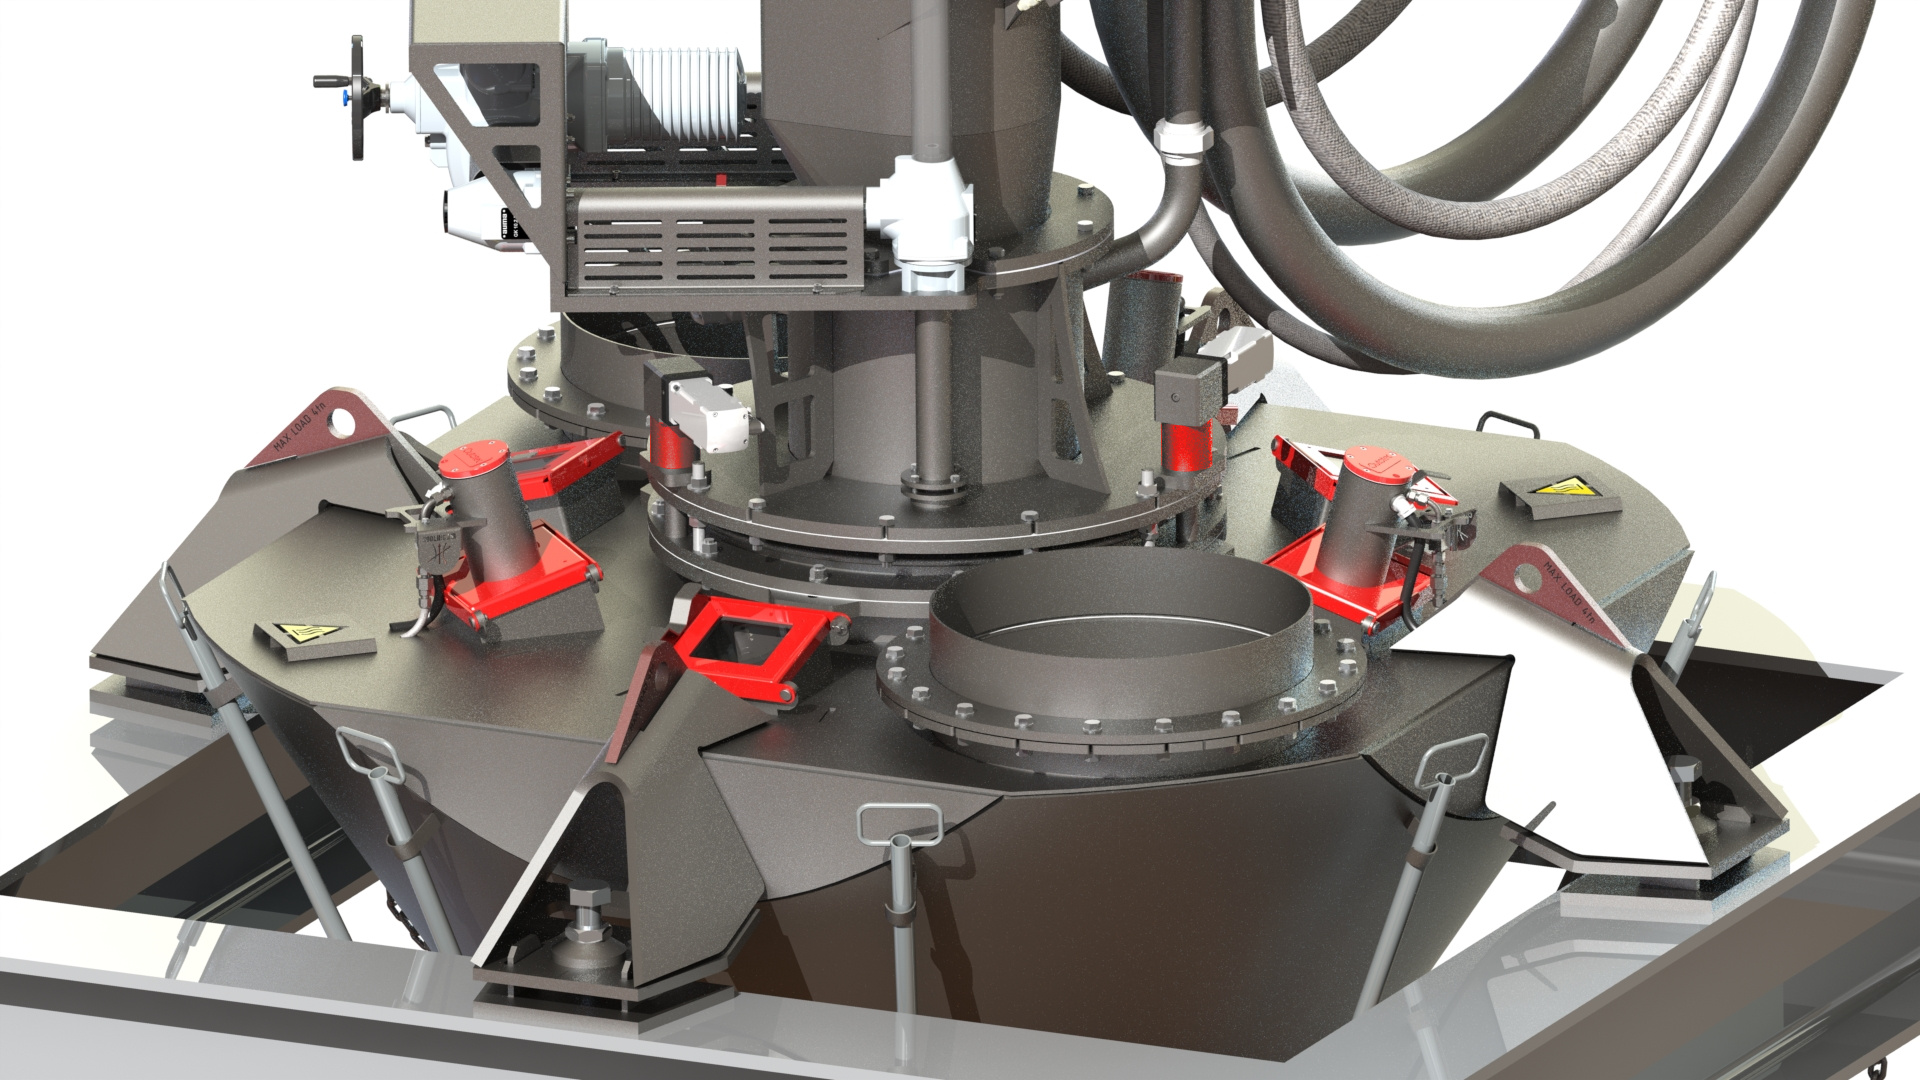
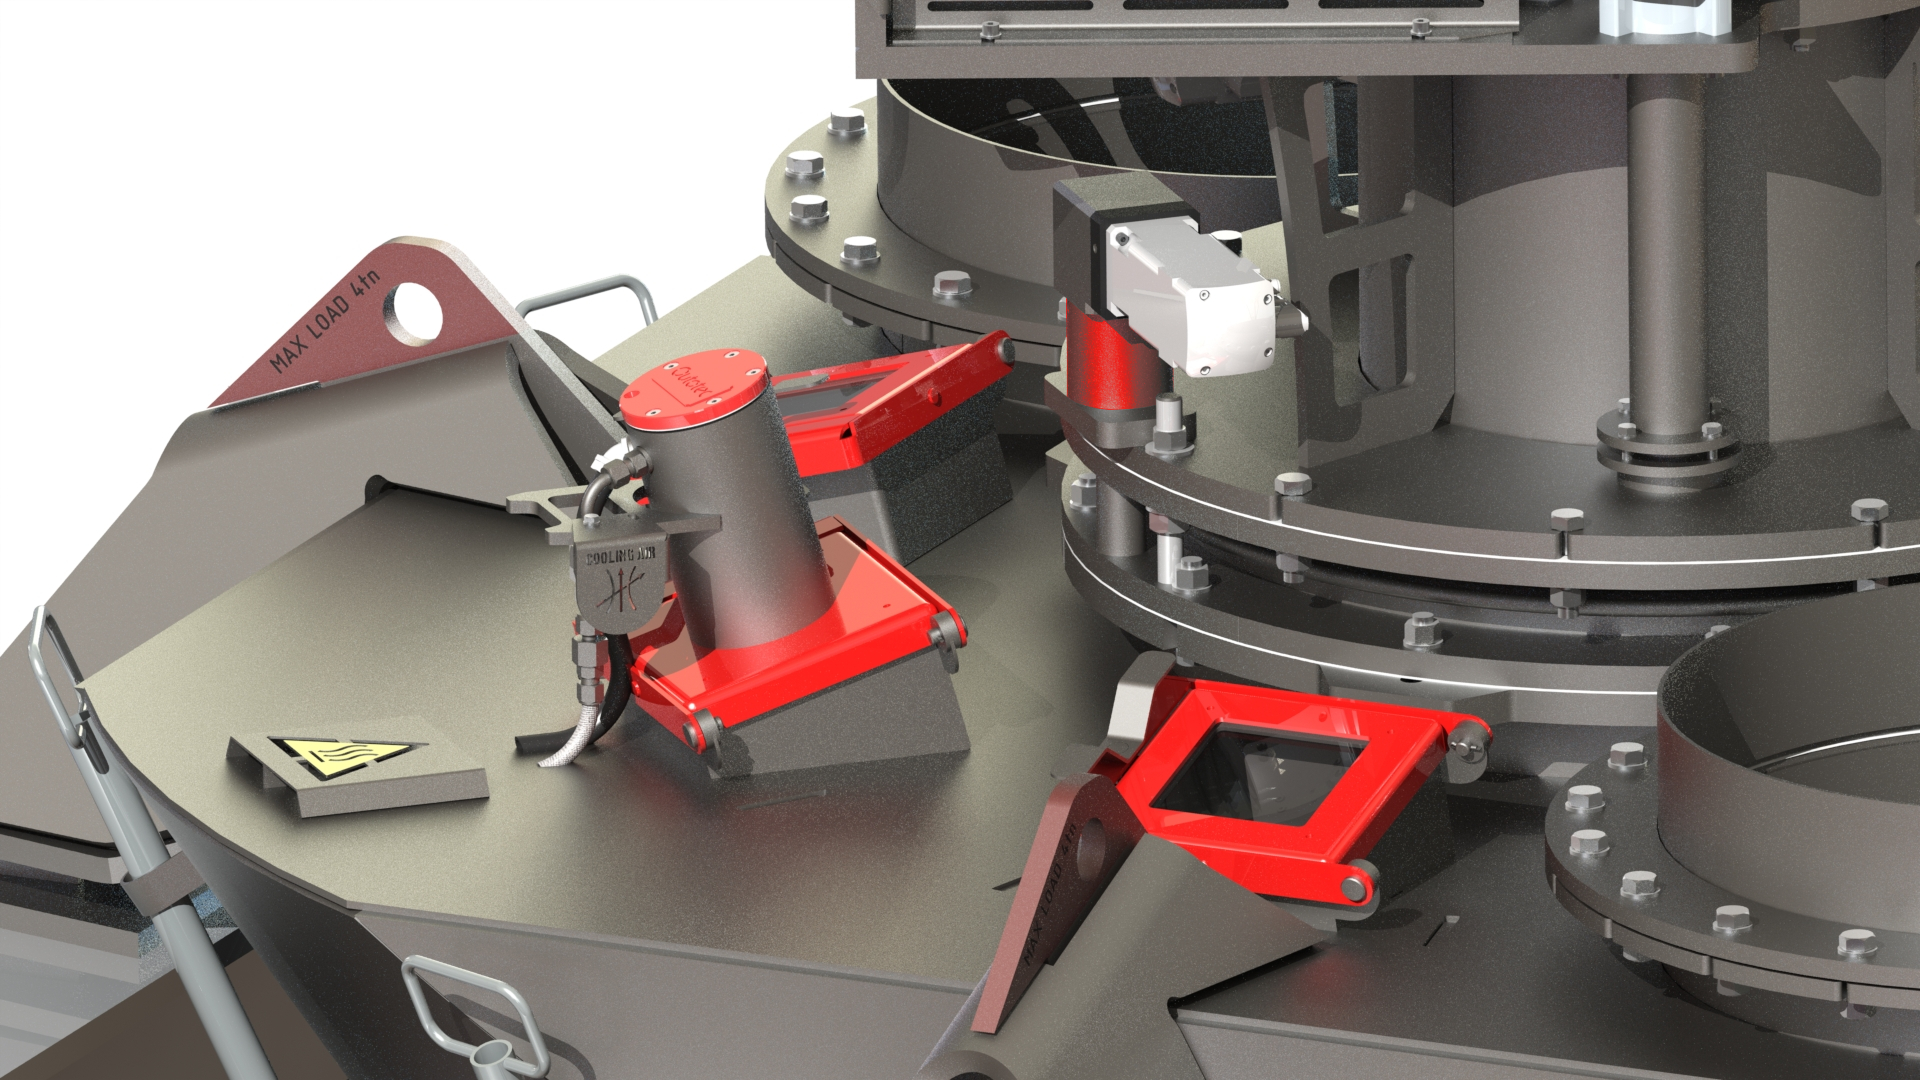
Our first generation FlashGuard enabled the online measurement of the burner’s alignment with the help of digital cameras and sophisticated machine vision algorithms. Now the second generation of the Outotec® FlashGuard has been further developed based on customer feedback and experiences. In this latest design the cameras are easier to retrofit to the air chamber without modifications to the air chamber’s roof as the camera boxes can be installed on the existing air chamber inspection windows. Additionally adjusting the cameras during commissioning and maintenance is now easier and the cameras are updated to higher resolution models, which can withstand higher operating temperatures.
The estimates of the current buildup conditions on the visible surfaces are also provided by the system. The results are calculated as easy to understand percentage KPI’s as “alignment efficiency” and “buildup prevention efficiency”. These results are available through OPC for the client for further use and analysis.
Still the single feature we’re most enthusiastic about is the new optional automatic concentrate or matte burner alignment system (patent pending), which removes the need for traditional “measure, adjust, re-measure, re-adjust” - workflow and hence significantly reduces the manual work and downtime required for the task and aligns the results by removing the human aspects. The alignment and buildup measurements from the FlashGuard system are automatically utilized in the alignment control of the burner so that the burner is always properly aligned to the center of the guiding cone so that the process air flow to the reaction shaft is as even as possible. The arrangement with three servo motors adjusting the alignment of the burner based on the FlashGuard measurements is illustrated in the figures 1 and 2 below.


