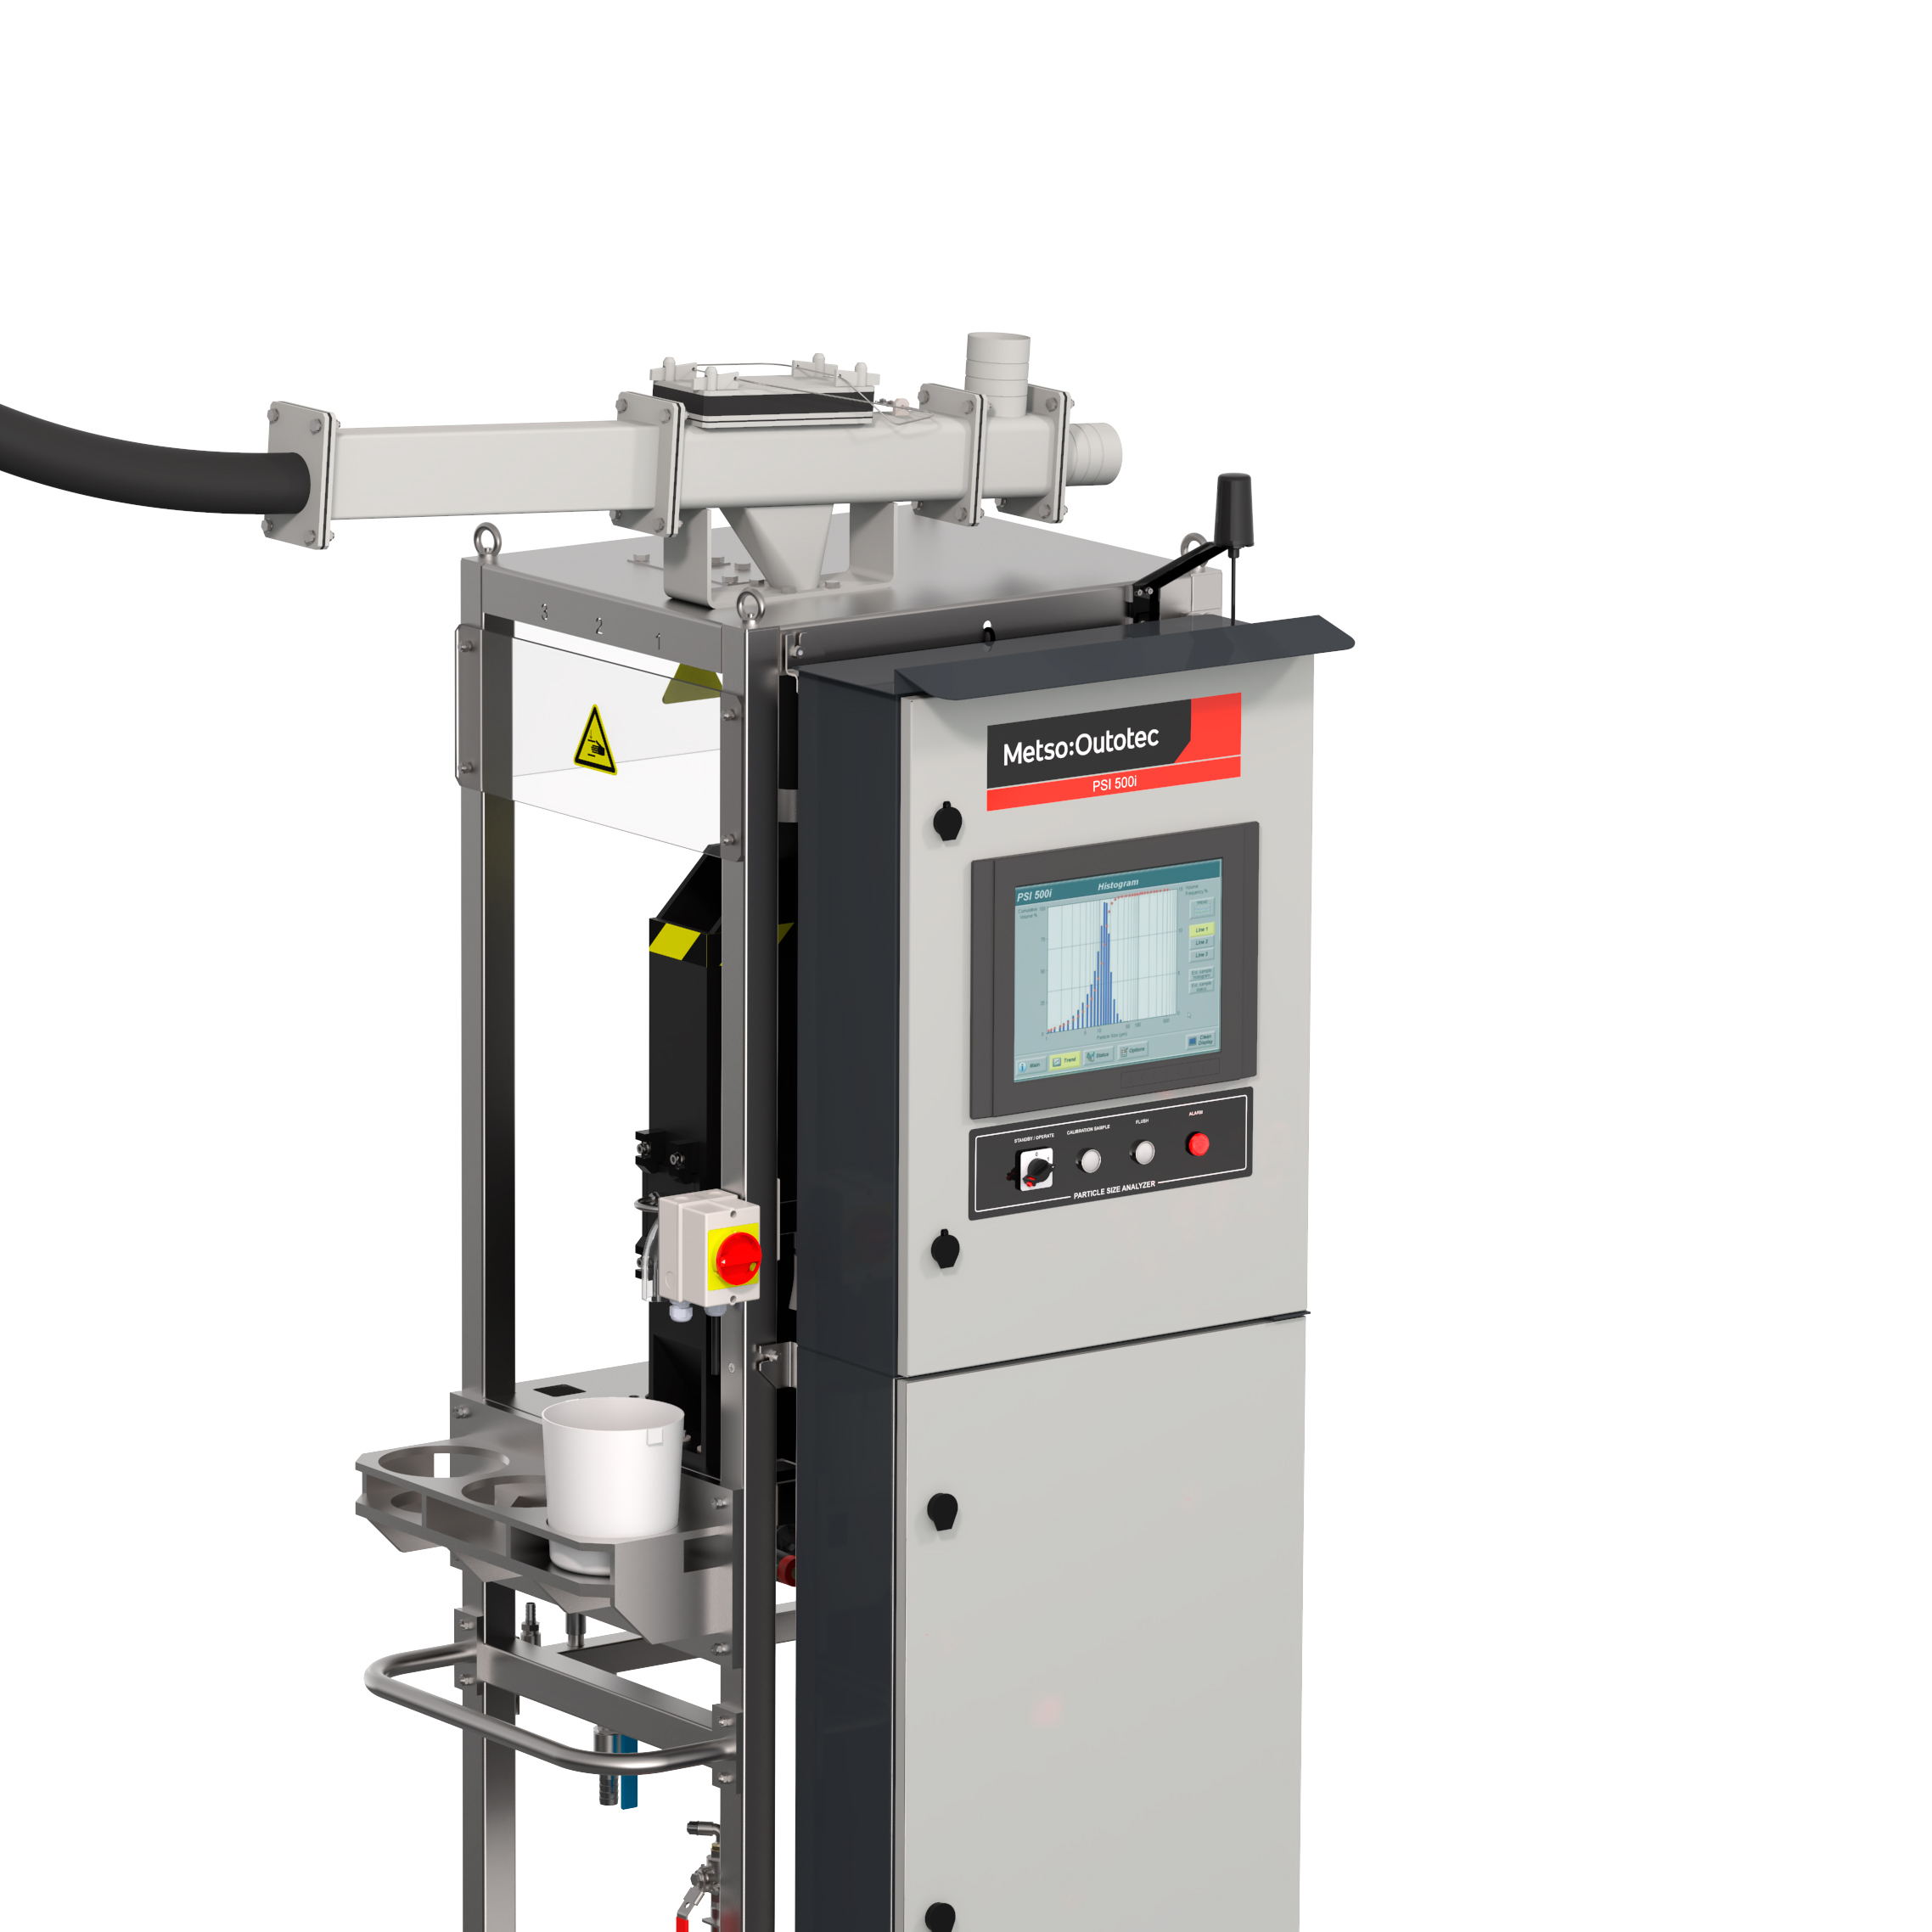
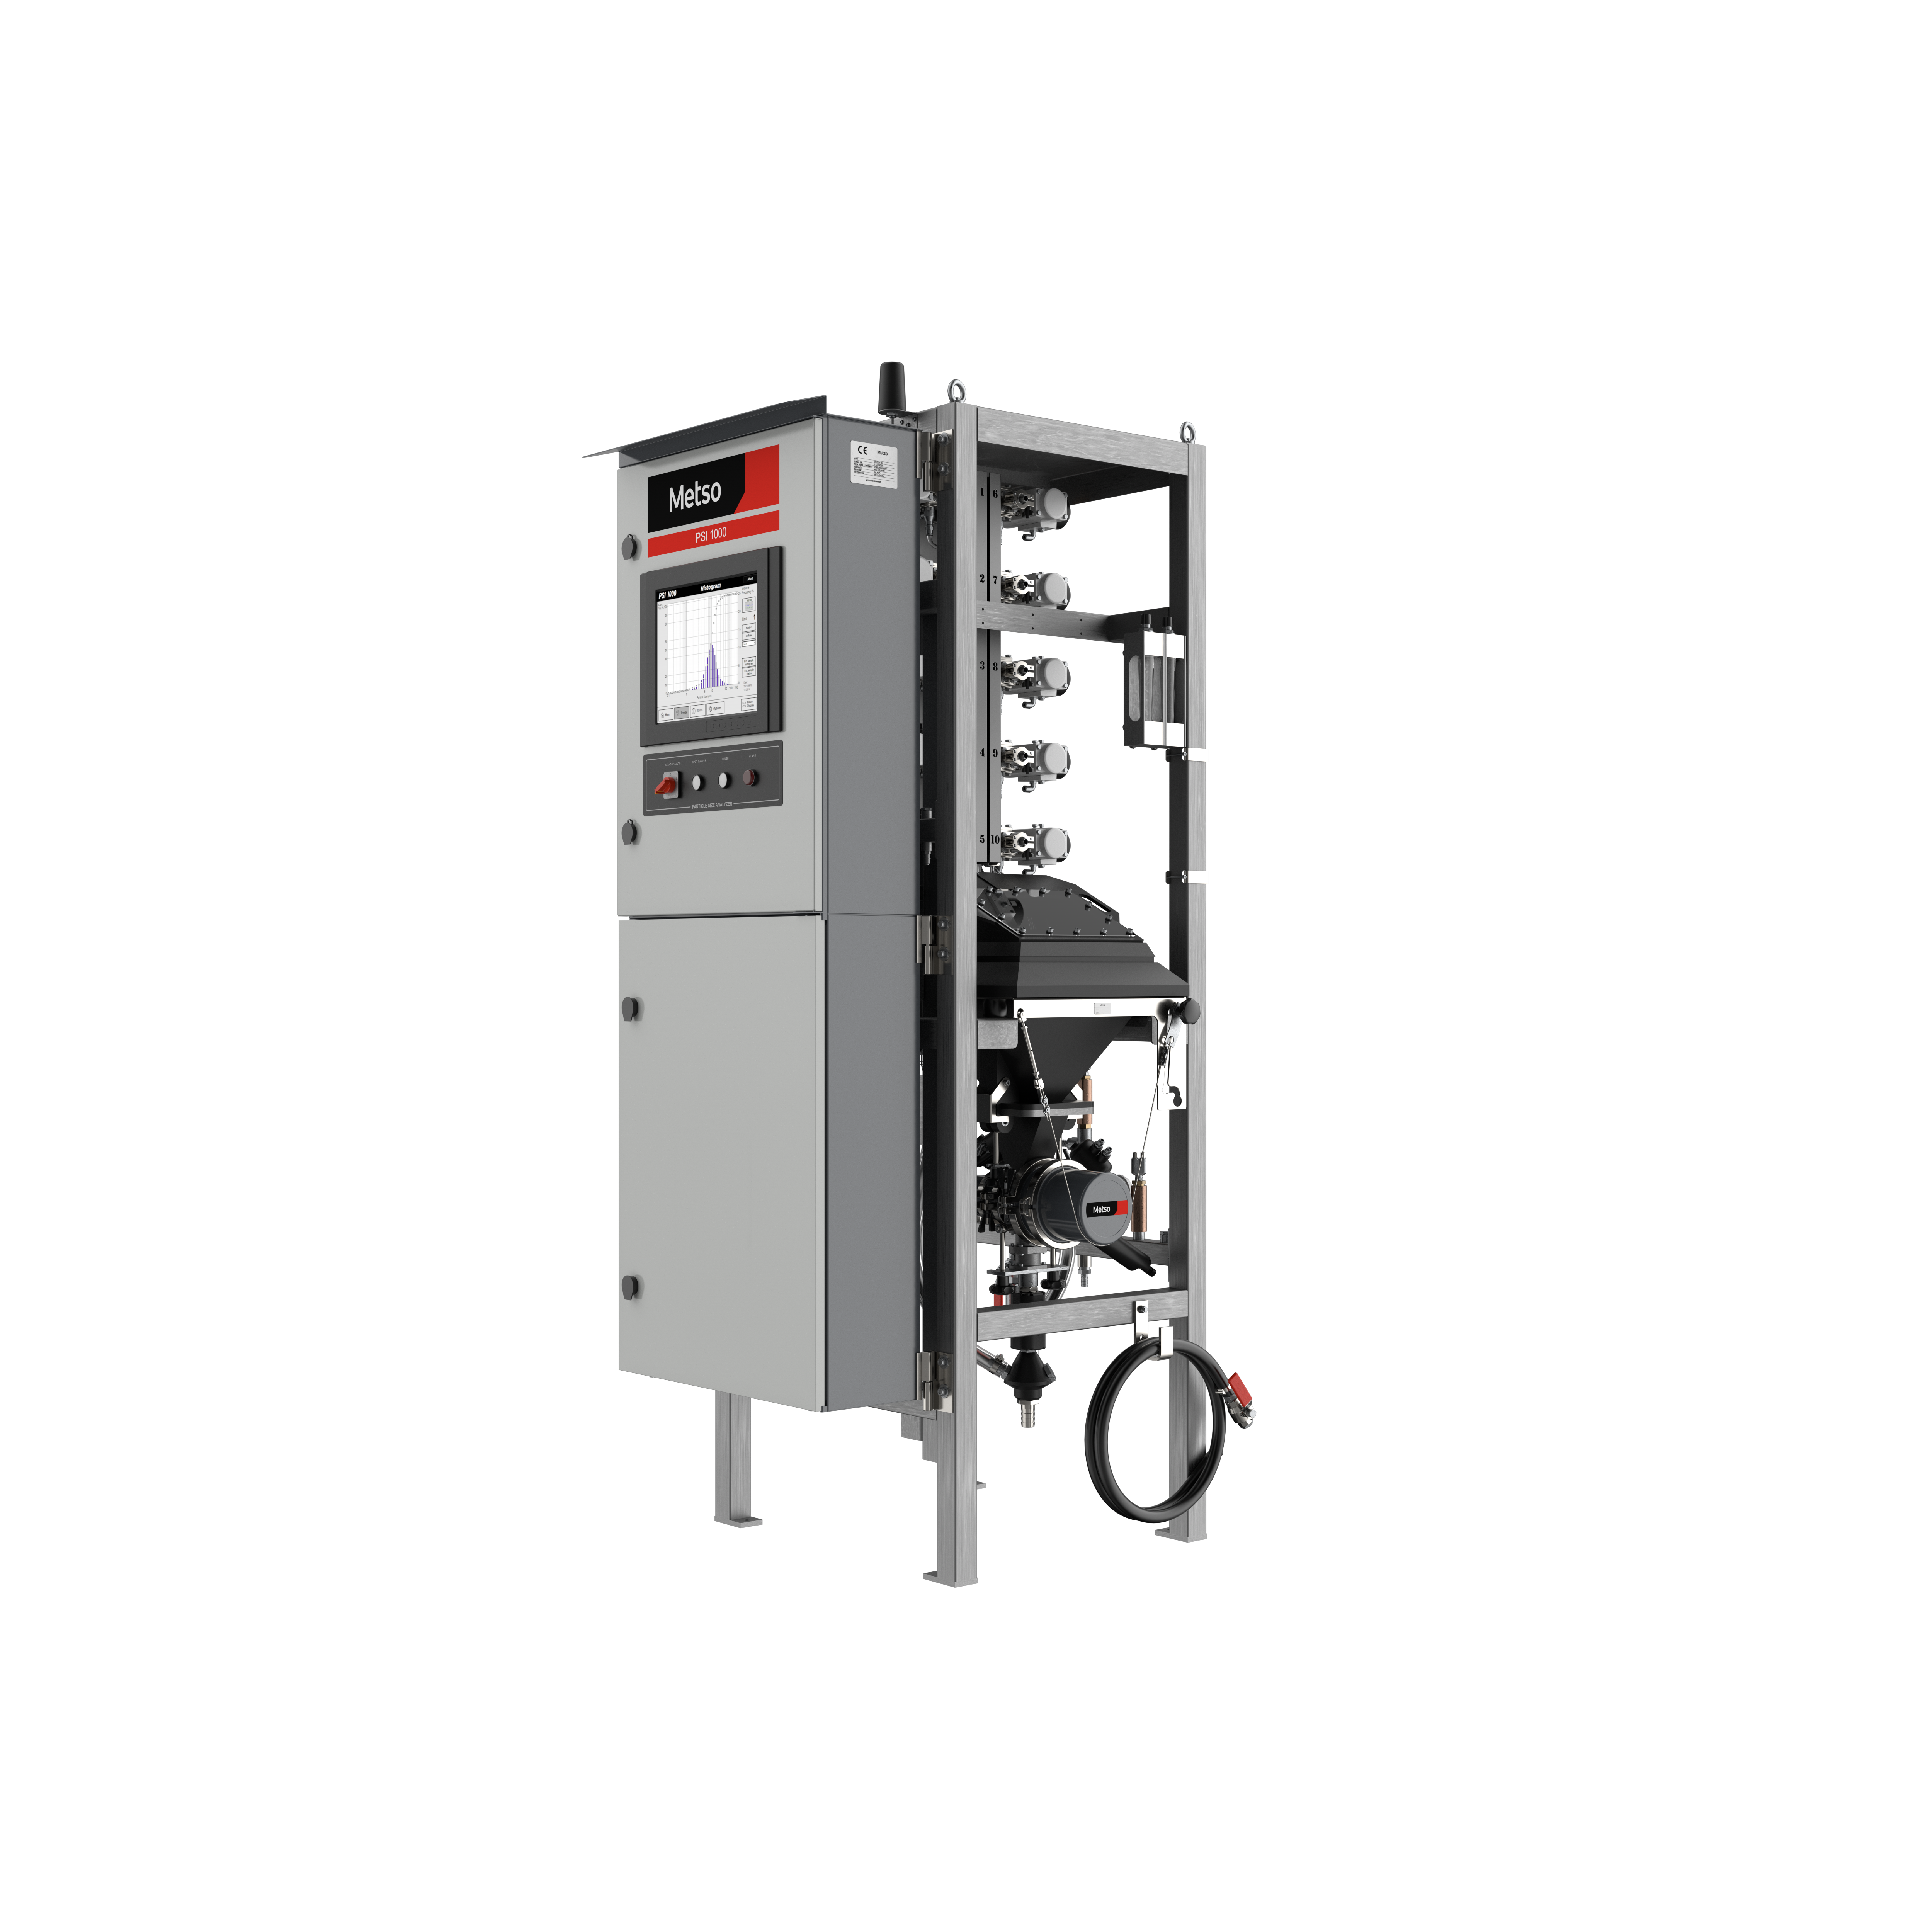
Primary sampling
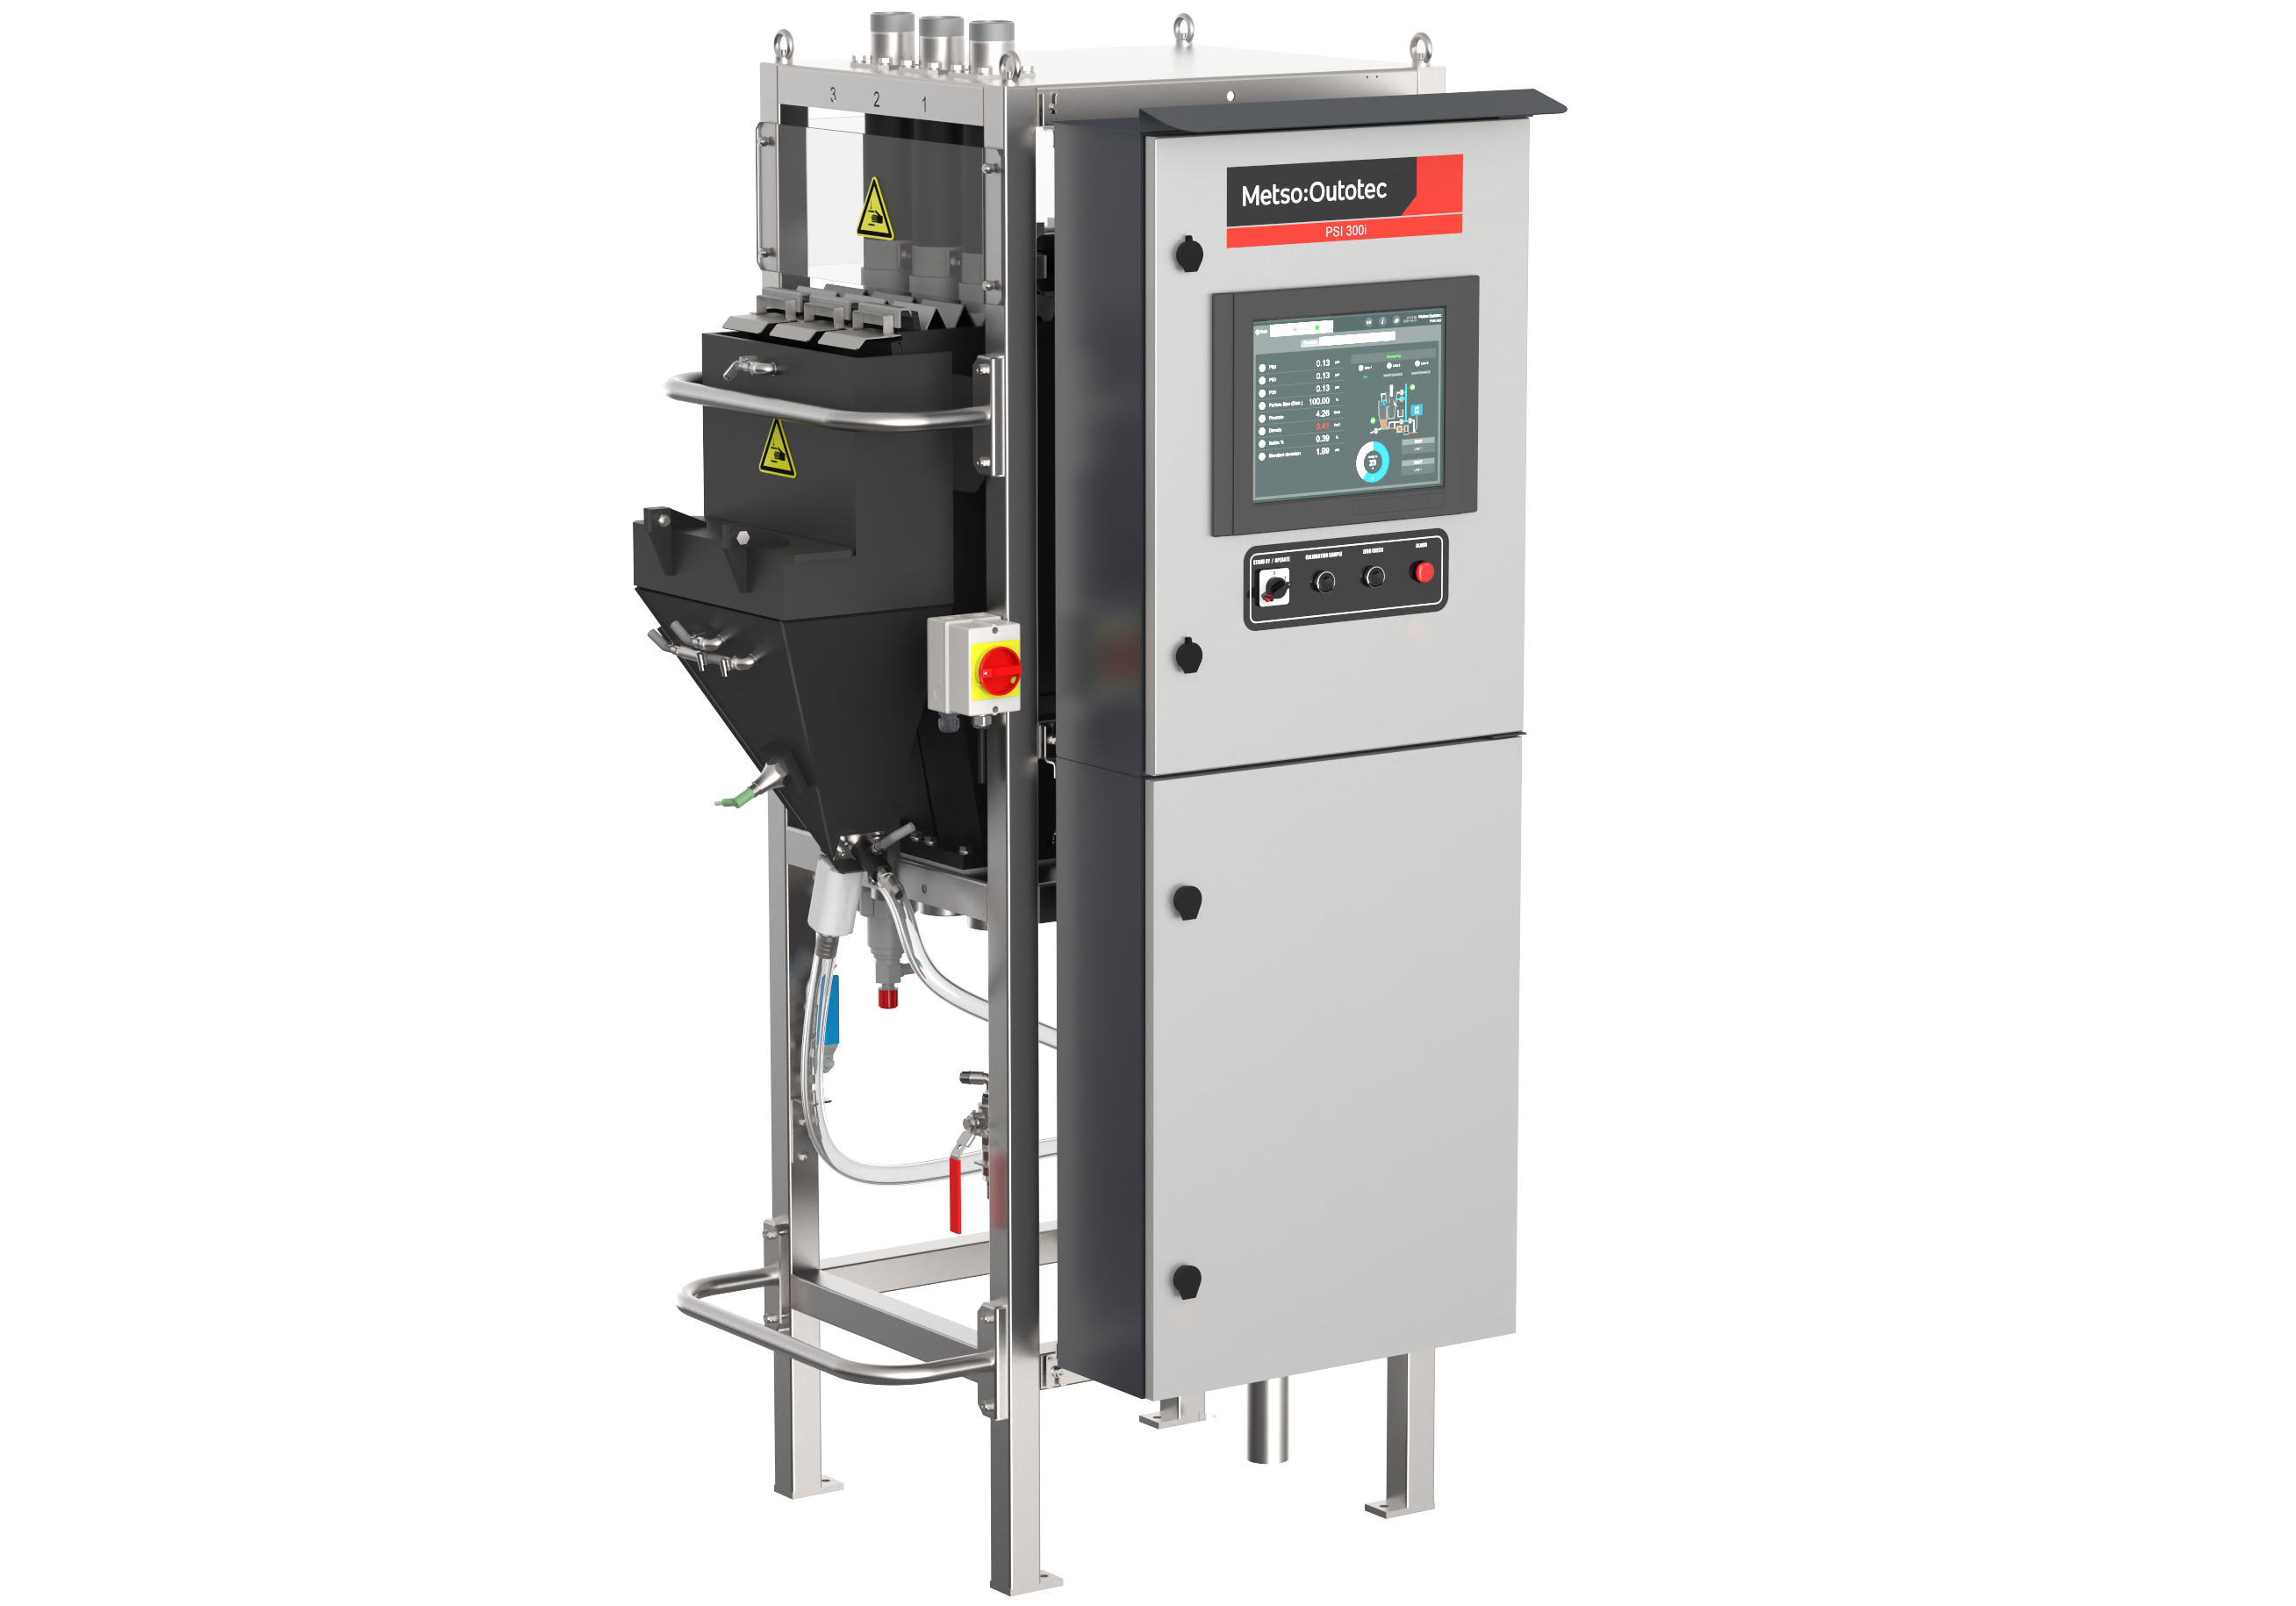
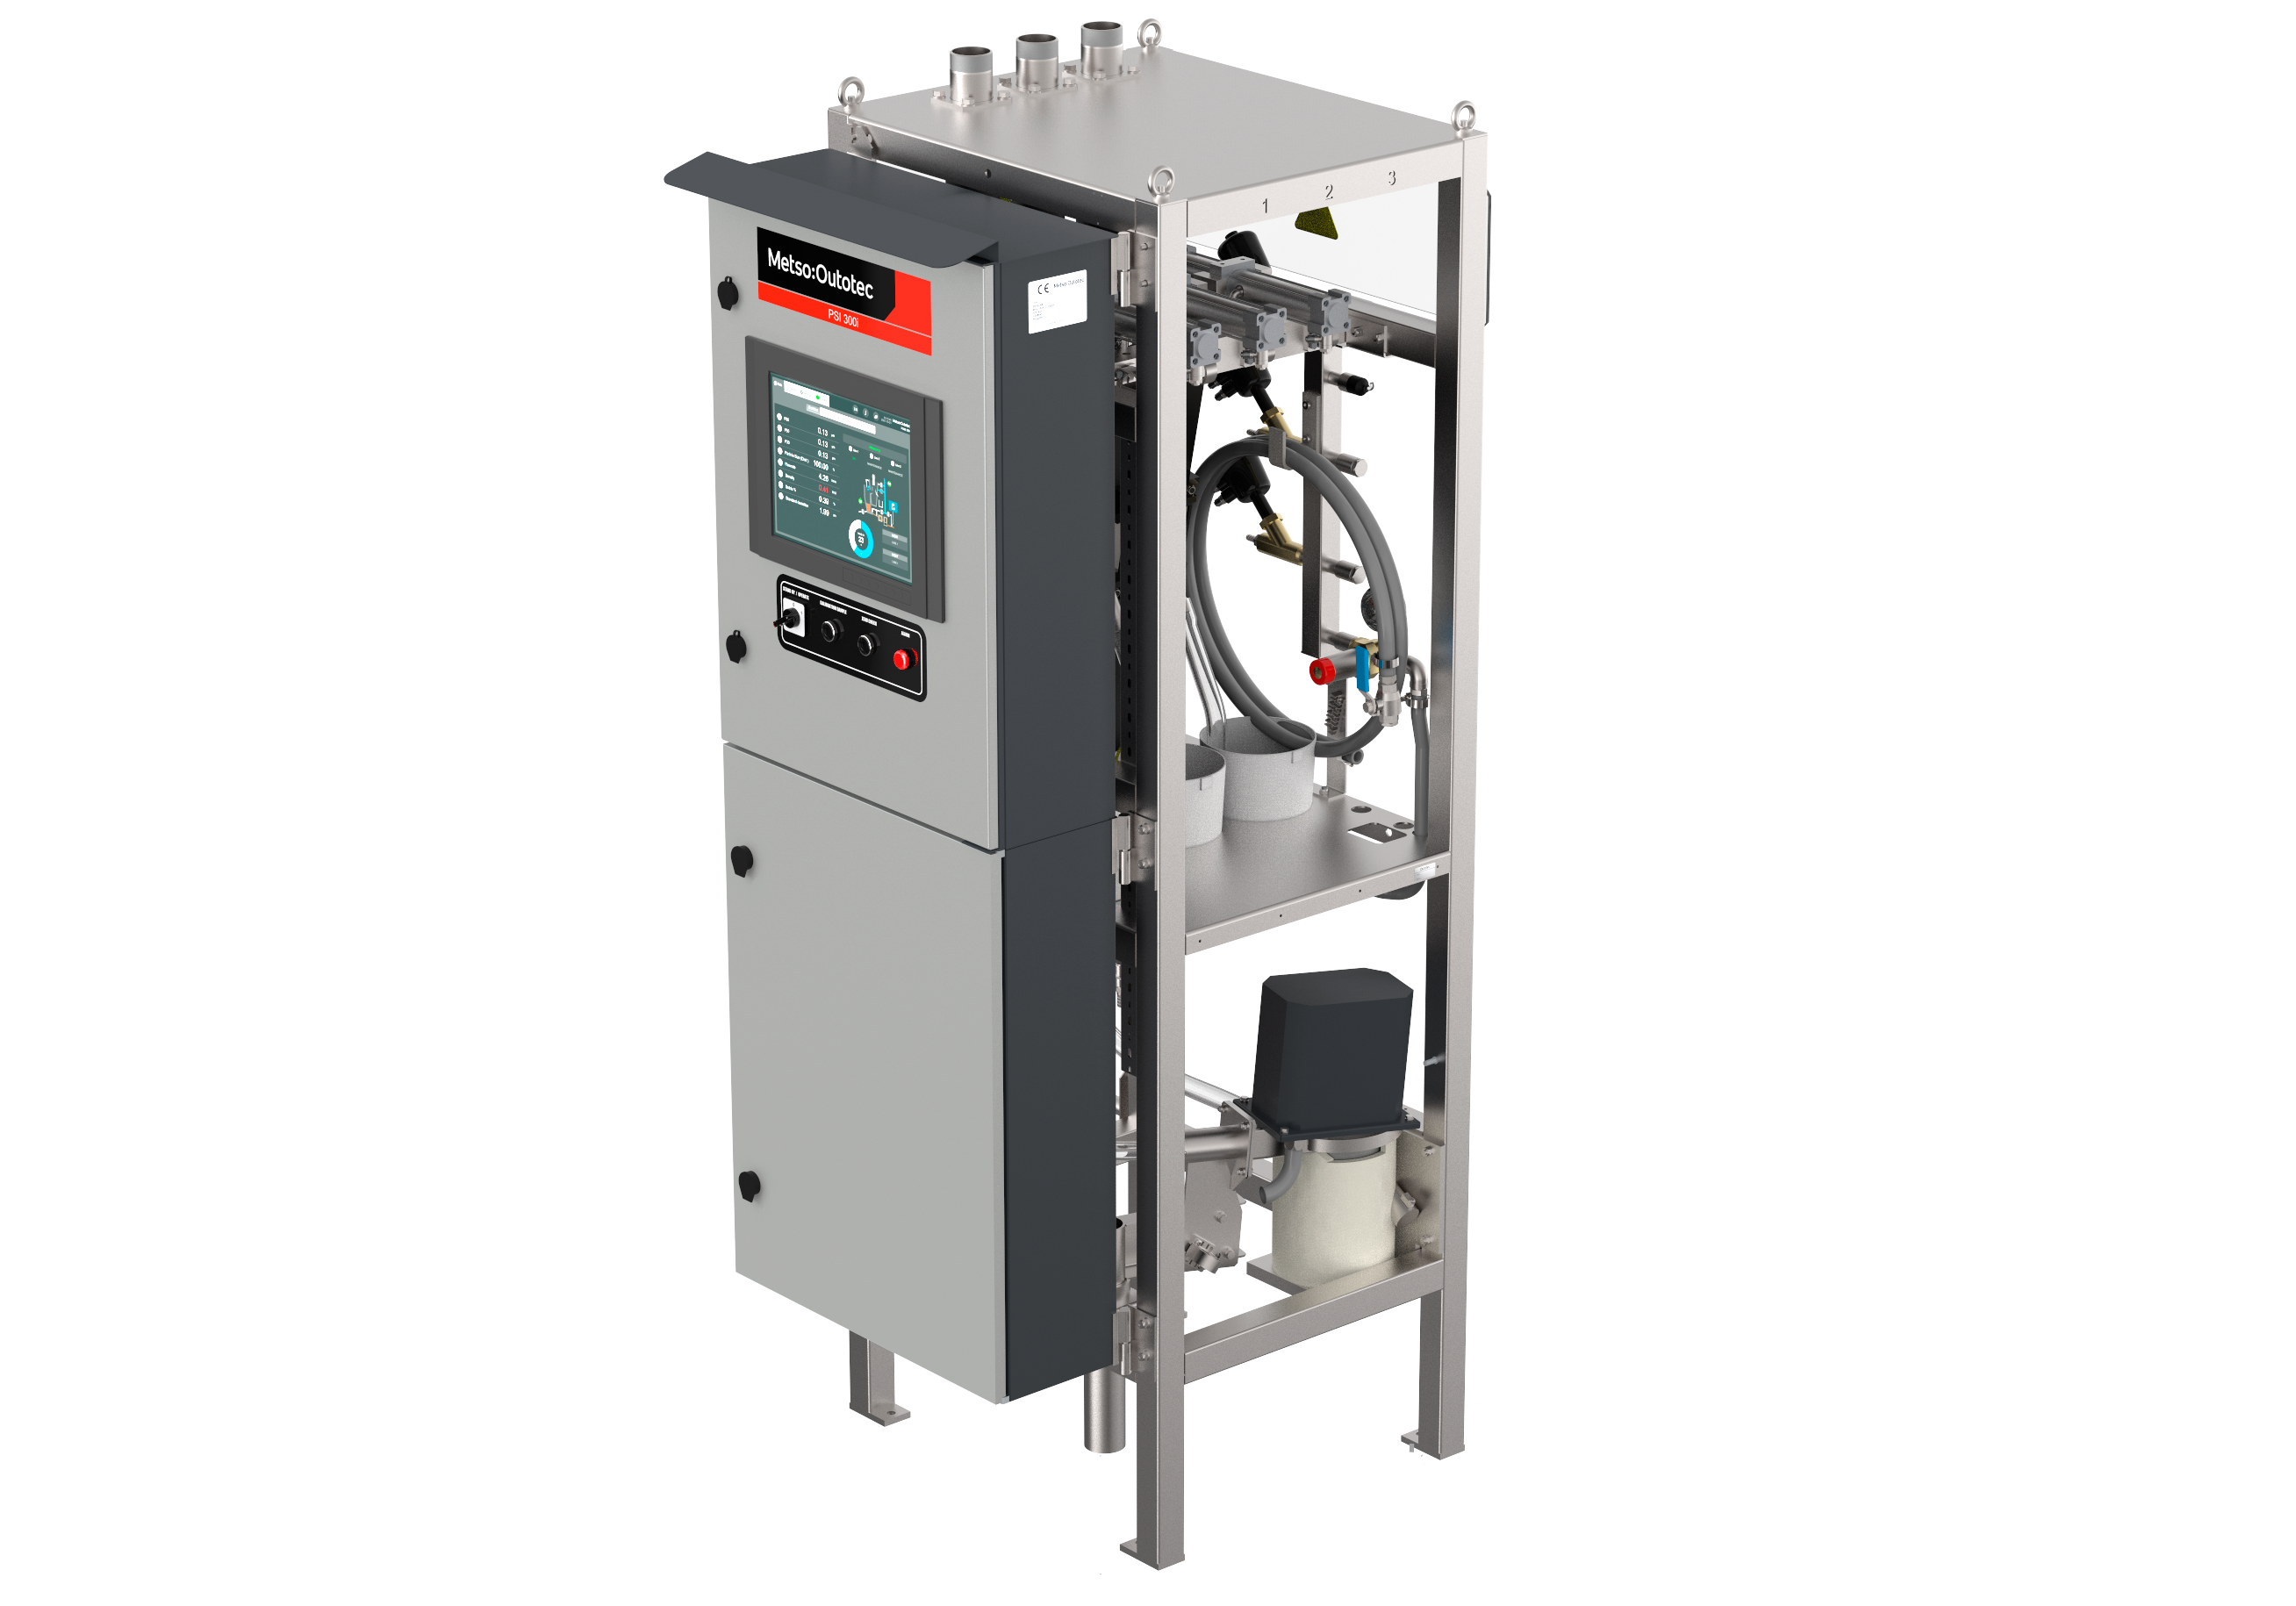
To ensure accurate particle size measurements it is essential to obtain a primary sample that is stable and representative. The Metso PSI 300i particle size analyzer can handle one to three sample inlets, each with a recommended 70–170 l/min flow. These inlets should ideally be located just below the primary sampler to minimize the gravity flow distance. The PSI 300i particle size analyzer has integrated automatic controls for the primary samplers, while the optional remote-control water and slurry valves and sample cutter cleaner help guarantee high sample availability.
Secondary sampling
Primary samples that are not being measured are directed to a reject outlet. After each primary sample inlet a moving hose sampler cuts a secondary sample for particle size measurement, from one sample line at a time. A self-cleaning trash screen and a small level-controlled tank are used to remove trash, oversized particles, and air bubbles from the sample. The primary sample flow is reduced to a stable 10–20 l/min, which is fed internally by gravity to the Metso PSI 300i sensors. An automatic water spray-flush-dump valve system kills froth, prevents sanding, and reduces scaling to a minimum.
The secondary sampler moving hose passes across a static cutter at programmed intervals to provide calibration or composite samples at the original process solids content for laboratory analysis. Samples are typically returned to a nearby process pump sump by gravity.
Sensor head
The Metso PSI 300i sensor head directly measures the size of a representative sample of particles. The measurement data is then converted to size fraction readings for each measured stream. Each of these corresponds to a user-definable particle size screen fraction, such as percentage passing at 74 microns. This information is displayed on the analyzer's touchscreen and can be sent to your plant process control system using several communications protocols.
The primary measurement results are calibrated against a reference method (sieve, for example). Calibration is robust, since the direct size measurement principle is not sensitive to changes in slurry viscosity, temperature, or other properties. The periodic automatic zero check compensates for any drift and monitors the sensor’s operation.
Sampling and analysis control
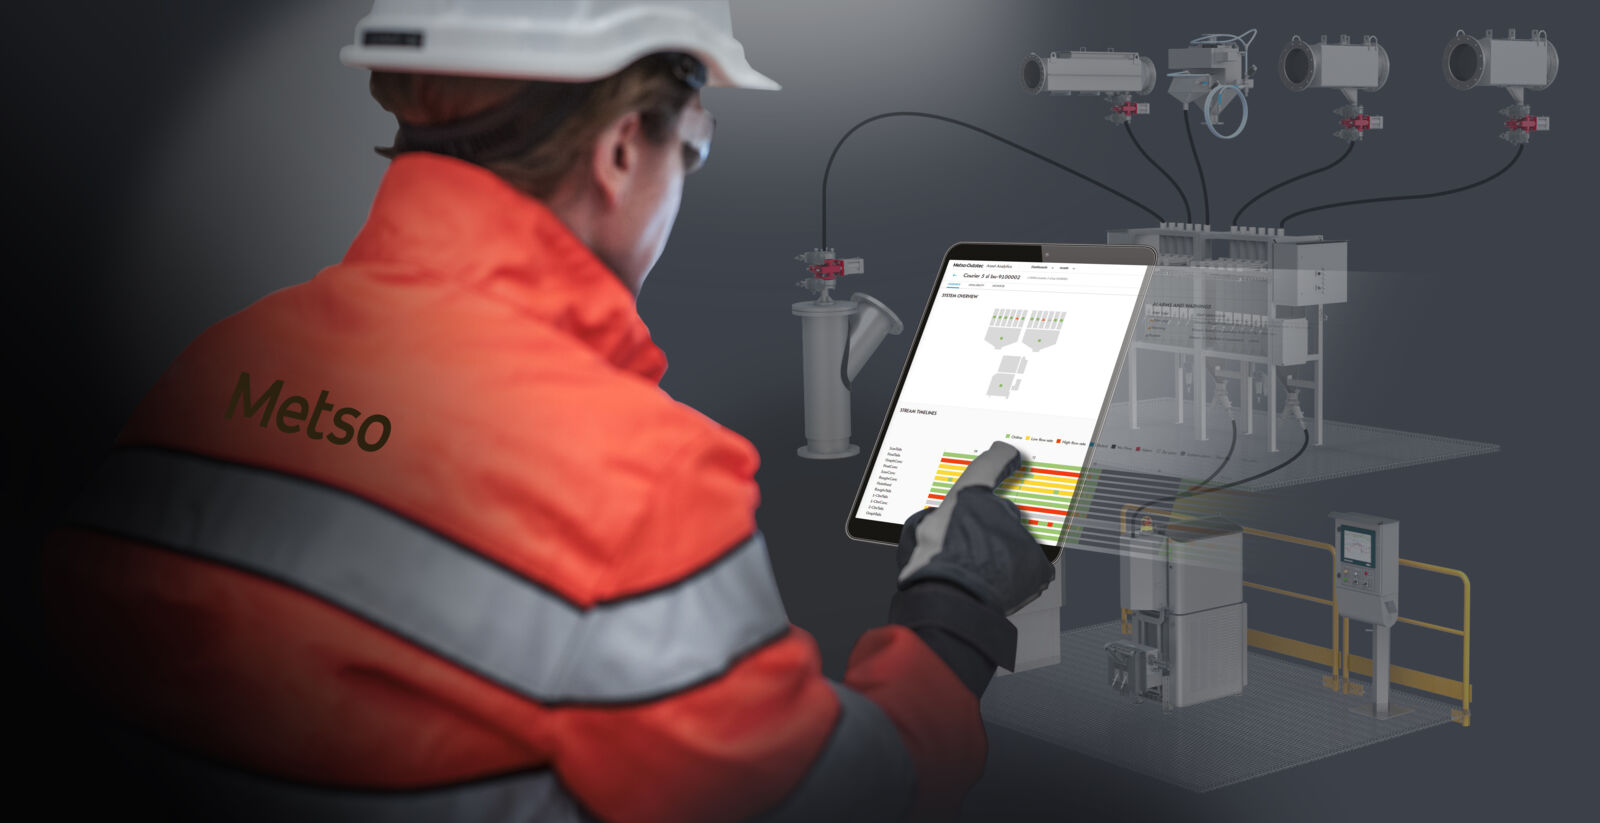
The analyzer contains a cabinet for electronics and pneumatics with an integrated industrial panel PC running control and configuration software. The local touchscreen user interface displays equipment status and analysis results for routine maintenance and use in the field. A control application synchronizes the measurement with the sampling control sequence and provides an interface for measurement and diagnostics data transfer to the plant’s automation system. Analysis results and analyzer status can also be seen through networked PCs, for example from the control room.
